Our life raft is probably approaching 10 years old and its certification had expired in February, 2017. Every 3 years, lift rafts are supposed to be “repacked”. Only 3 companies in NZ do this for the major life raft brands. We were quoted about $2,000. It is the price for peace of mind.
Dave Berg, a friend and professional skipper, said he had gone to Auckland to watch his being serviced so that he would be more acquainted with it. We had taken a “Safety at Sea Course” in Canada a few years back but his idea sounded like a good way to take some of the mystery out of our raft. What does it look like? What do they pack inside? So we set an appointment with the service company, rented a car and drove down to Auckland. Our service company, Denray, was very accommodating.

The Denray plant
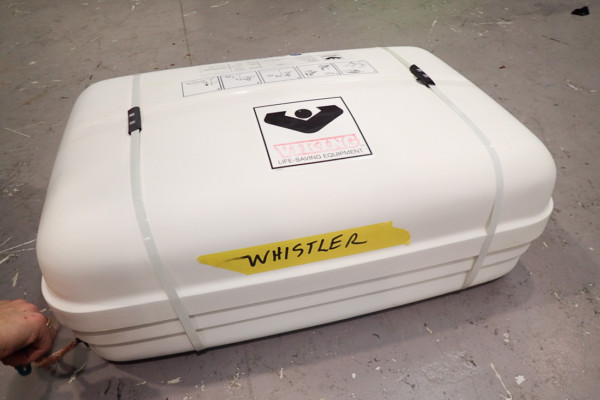
Our life raft’s hard case which is normally mounted on our arch for easy deployment.
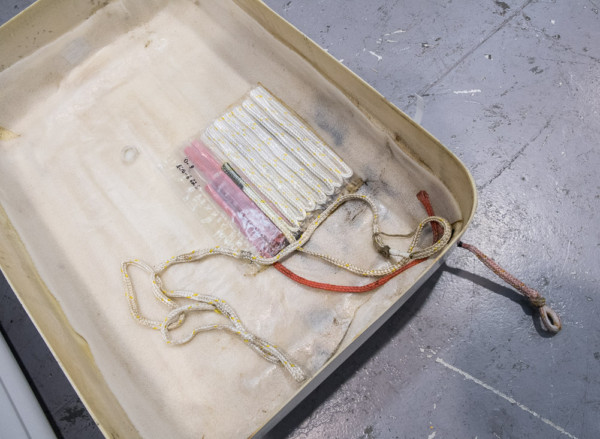
The empty case showing with the line normally attached to the boat. Obviously, we have to cut the line if the boat is sinking.
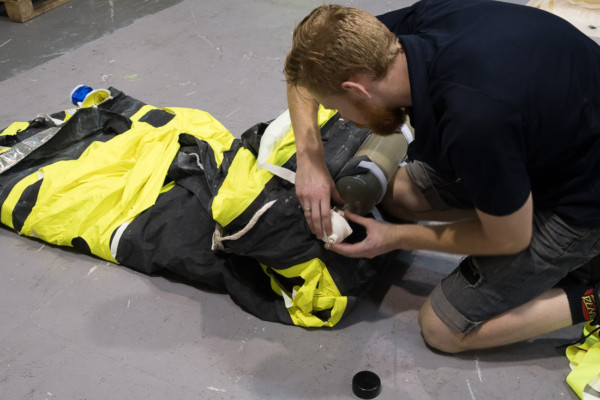
Setting up the liferaft to inflate for our test
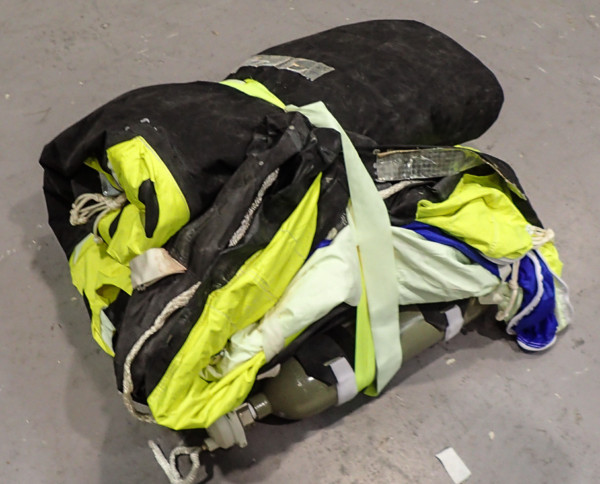
Packed for our simulation and ready to go!
A video of our life raft being inflated is on Vimeo.
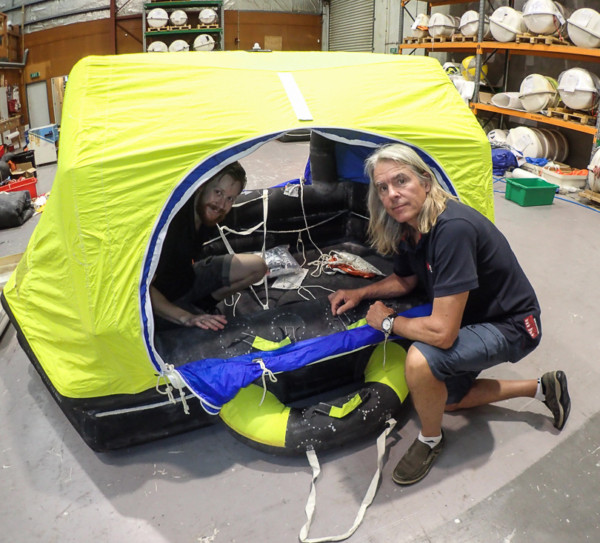
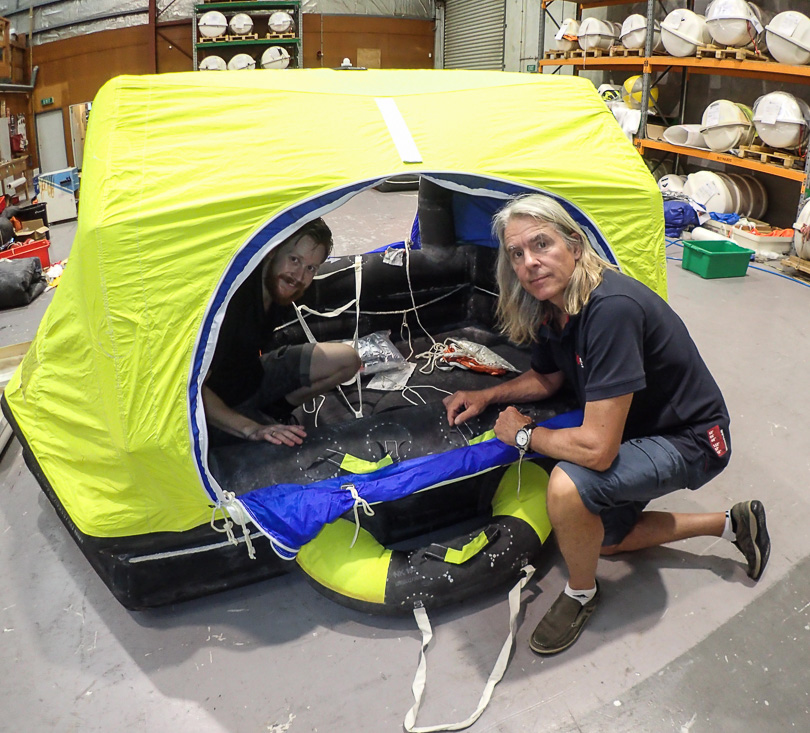
After inflation, Sam crawled inside and showed us the features of the raft. It is a 6-man raft, so 2 people could be comfortable and even stretch out. With 4, it would still be okay, and with 6, a little cramped.
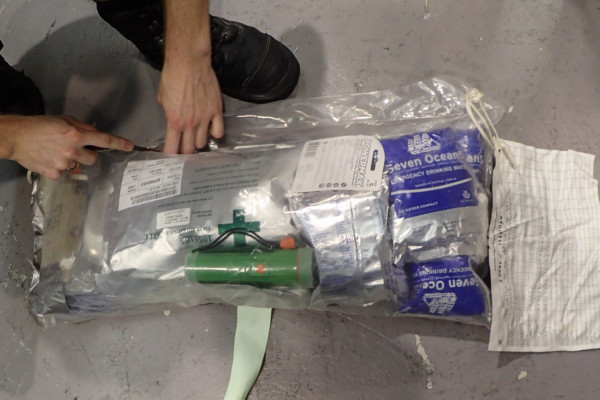
Cutting into the safety kit contained inside the raft.
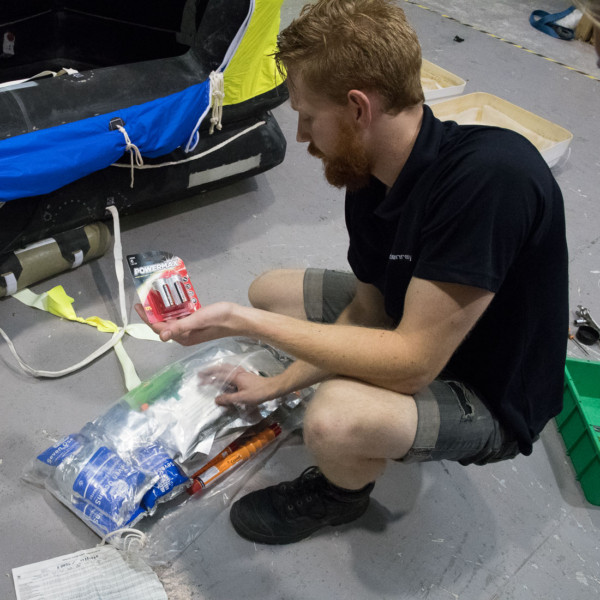
The kit is equipped with water, food, first aid kits, flares, a flash light (batteries included), fishing gear, etc. All are checked for expiry dates and refreshed to last another 3 years.
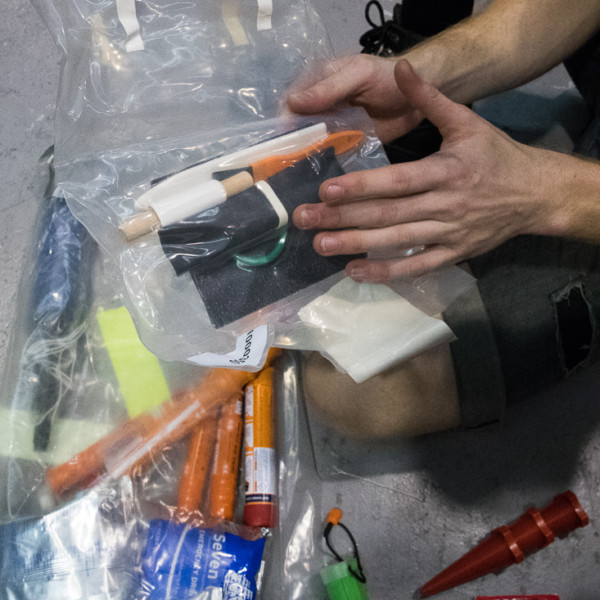
Sam tells us the raft is made of high quality rubber and is still in great shape. He says it would take a great effort to puncture it, but the raft comes with a patch kit, just in case!
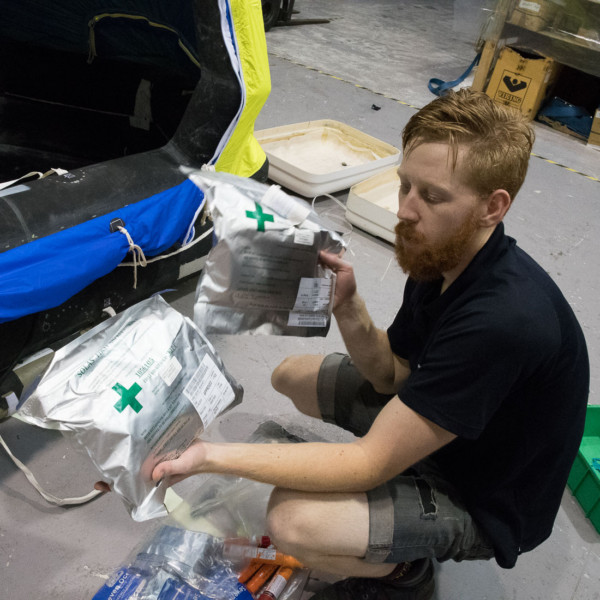
Two separate first aid kits with different contents, one with equipment for minor medical needs, the other for more serious medical conditions.
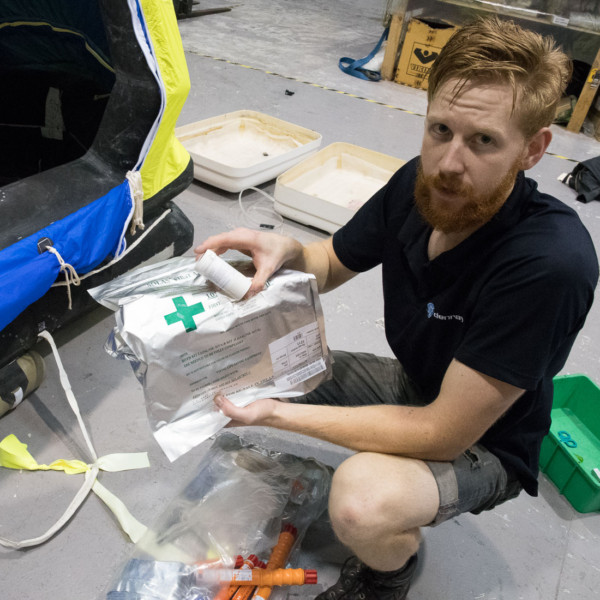
One first aid kits has seasickness pills and he urged us to take them when first in the raft!
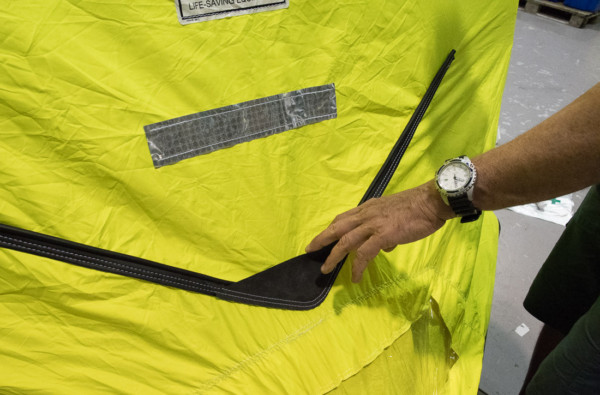
He shows us how drinking water is gathered when it rains.
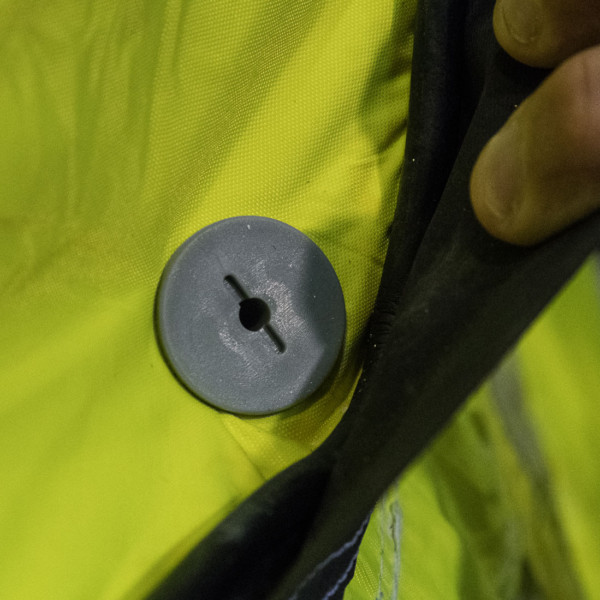
The small hole allows the water into a catchment system inside the raft. He said, when it starts to rain, allow some time to purge the salt water.
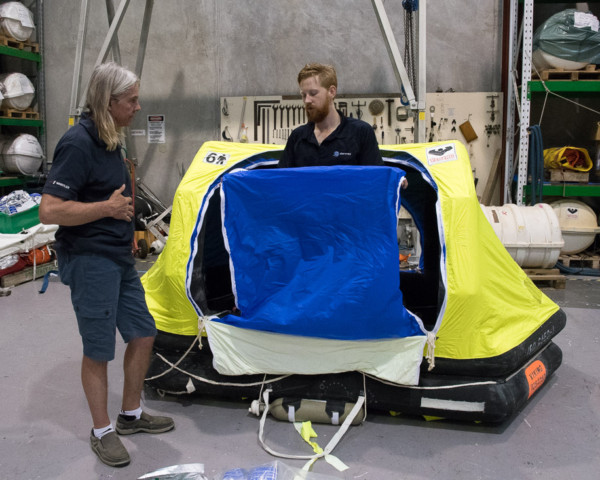
Demonstrating the inner lining to close up the raft’s openings.
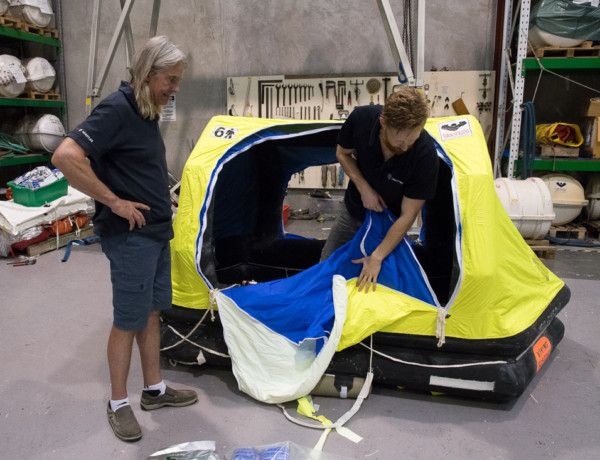
Showing us the outer lining for the door as well. It all seems practical.
We came away from this experience knowing better what items need to be packed in our ditch bag. Signalling devices like our EPIRB, Weems & Plath SOS Distress Light, communication devices like our Delorme InReach (for texting), Iridium Go, and hand-held Garmin (for navigation), VHF radio and passports would certainly be on that list. We will refer to Mahina Expedition’s ditch bag list, by John and Amanda Neal, from our offshore sailing course materials to ensure ours has all the critical items.
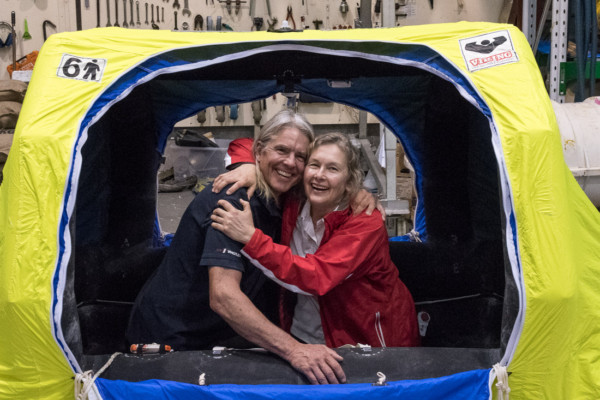
We hope this is as close as we get to the inside of the raft for the rest of our cruising days. If we ever do, we likely won’t be smiling like this!



4 comments
Very intersting – thanks for sharing!
Not the most interesting thing we do, but part of the cruising life. Hope all is well with you and Dave!
I absolutely share your hope that you won’t have to get into the liferaft ever again. Good story
You two are so adorable! Thanks for sharing this valuable information. And if we ever join you along the way we’ll feel much better knowing it has been checked and is all good to go. But like you said, you’ll probably never see the inside of it again until the next re-check. We are also thankful for the Mahina check-lists. Safety on the water is invaluable.